Delish editors handpick every product we feature. Chinese pork buns may earn commission from the links on this page. They may not be the prettiest buns you’ve ever seen, but don’t let looks deceive you—these rank high on my list of all the steamed buns I’ve ever eaten. There are endless variations on the steamed bun across different cultures and regions: different dough recipes, different fillings, different cooking methods.
Below, I’ve given three separate filling options, all of which can be made a day in advance: a meaty cabbage-pork combo, a flexible miso-carrot mix that can be vegan or pescatarian, and a sweet red bean paste version that can be served as dessert. Once upon a time in the olden days, like most traditional bread recipes, Chinese steamed buns were made with sourdough preferments. Many Chinese steamed buns use a specific type of low-protein all-purpose flour that can be hard to find in many parts of the U. To approximate the texture that kind of flour achieves, we will be using two techniques. First, to keep the bun texture fluffy but not dry and powdery, take a minute to make a water roux with cornstarch.
The second technique is to use boiling liquid in the dough to create a more tender steamed bun with just the right amount of chew. If working by hand, to avoid burning out your arms and worsening your carpal tunnel syndrome, bring the dough together and knead just until it forms a cohesive dough with no dry pockets. It might not be smooth right away—that’s okay. Cover the bowl and return to it 30 minutes later, and you’ll find that it has relaxed and become easier to knead. If you don’t feel like returning to the dough periodically over 2 hours, let the mixer go until the dough is pretty smooth—anywhere from 5 to 15 minutes, depending on your mixer speed—then cover the bowl, step away, and let the dough rise until it’s nearly doubled in size.
For a classic savory steamed bun look, you’re going to want to pleat these buns. Truth be told, it’s a bit difficult to get the hang of it as a beginner! As with all things, practice makes perfect. The key is to roll out your portion dough so that the center of each round is thicker than the edges: Thinner edges are easier to fold and pinch. But there’s absolutely no rule that states you have to pleat your steamed buns!
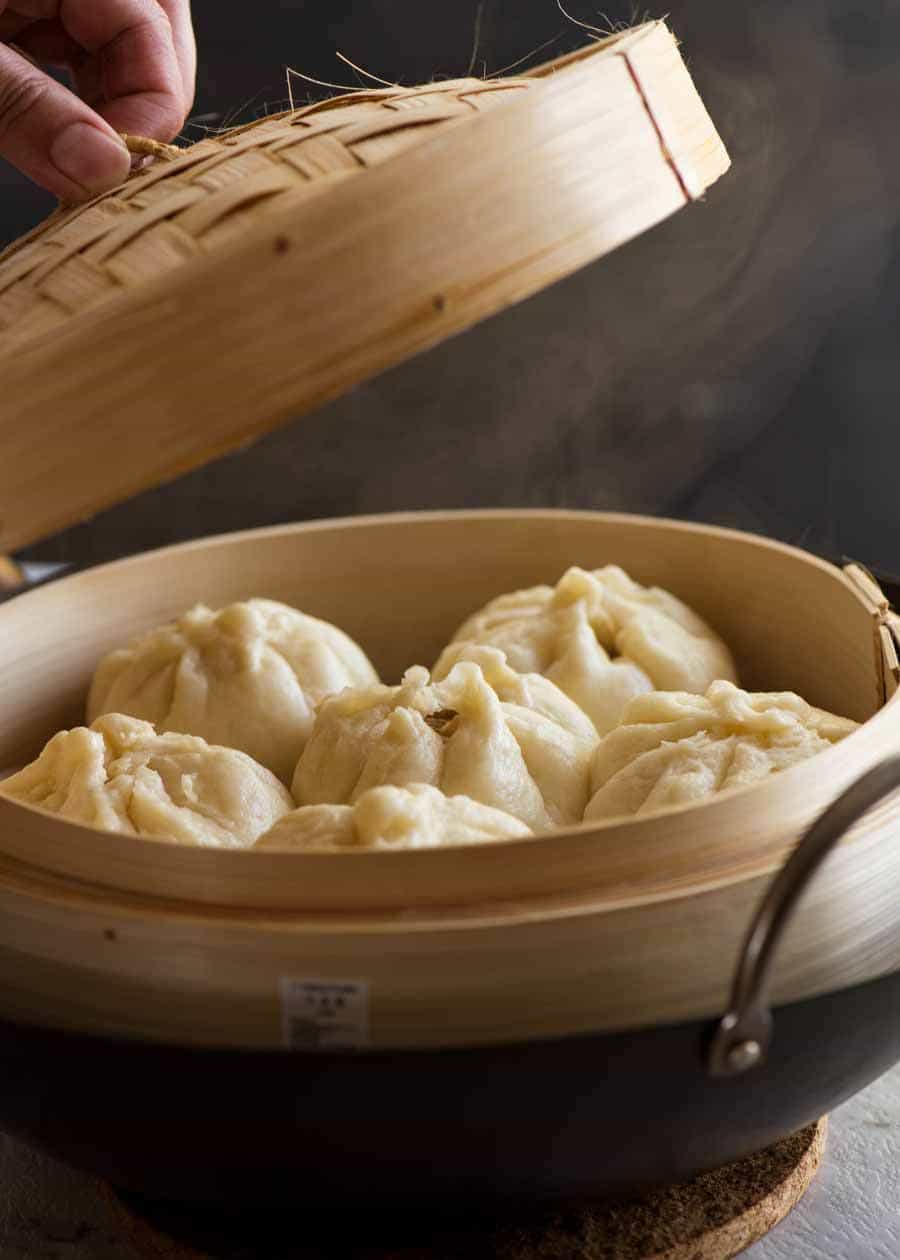
If the idea of messily pleated buns give you the kind of anxiety I experienced while making these, you can forgo the pleat attempt and simply cinch the edges together, flip the bun upside down so that the seams are on the bottom. Give the bun a gentle tuck and roll on your work surface to seal completely. You can use a metal steamer basket that fits inside a deep pot, or traditional bamboo steamers. To ensure a non-stick release, place your buns on top of 3″ squares of parchment paper before setting them inside your steamer.
They will double in size during proofing and cooking, so make sure there’s at least 2″ of space between each bun. There are a few things to keep in mind to adjust the bun’s texture to your liking. To develop a shiny, chewy skin on your bun, let the buns proof uncovered. This exposure to air will let the surface dough dry out and harden slightly, giving it that characteristic texture. For a fluffier bun, let the dough proof longer, about 1 hour.
For a chewier, denser bun, shorten the proof time to about 30 minutes. Gradual heating and cooling will yield a smoother surface on your buns and ensure a more evenly cooked bun. Start the steaming process with cold water: Fill your pot with about 2 cups of cold water, ensuring that the surface of the water has at least 2″ clearance from the bottom of the steamer basket. Cover your steamer, then turn the heat on, and once the water is up to a boil, lower your heat to a medium-low.